")
Are you flying to the Philippines for the primary time? Whether or not you’re a overseas customer or a returning Filipino, this step-by-step Manila Worldwide Arrival Information offers you an outline on what to anticipate upon your arrival.

I’ll be focusing totally on Ninoy Aquino Worldwide Airport (NAIA), which is the first gateway to Manila. However many of the steps listed here are additionally relevant to different worldwide airports like Cebu and Clark. Prepared?
BEFORE YOUR TRIP
Earlier than your journey, there are issues that that you must care for.
1. Test in case you want a visa.
First, let’s discuss visa. For those who’re a Philippine passport holder, after all, you don’t want a visa to return. Most nationalities do NOT want a visa to enter the Philippines, both. Below Govt Order 408, residents of 157 international locations can go to the Philippines visa-free, offered that:
- Your keep shouldn’t be exceeding thirty (30) days.
- Your passport is legitimate for a minimum of six (6) months past the interval of keep within the Philippines.
- You will have outward-bound tickets.
Some particulars are completely different for some nationalities, although. For instance, Brazilian and Israeli nationals can keep for as much as 59 days.
Indian nationals, alternatively, can keep for as much as 14 days for tourism or enterprise functions, however they’re required to additionally current a confirmed resort lodging reserving and proof of economic capability, on high of the exit or onward ticket.
To be completely sure, contact your overseas affairs division or the Philippine embassy or consulate in your space for the up to date insurance policies.
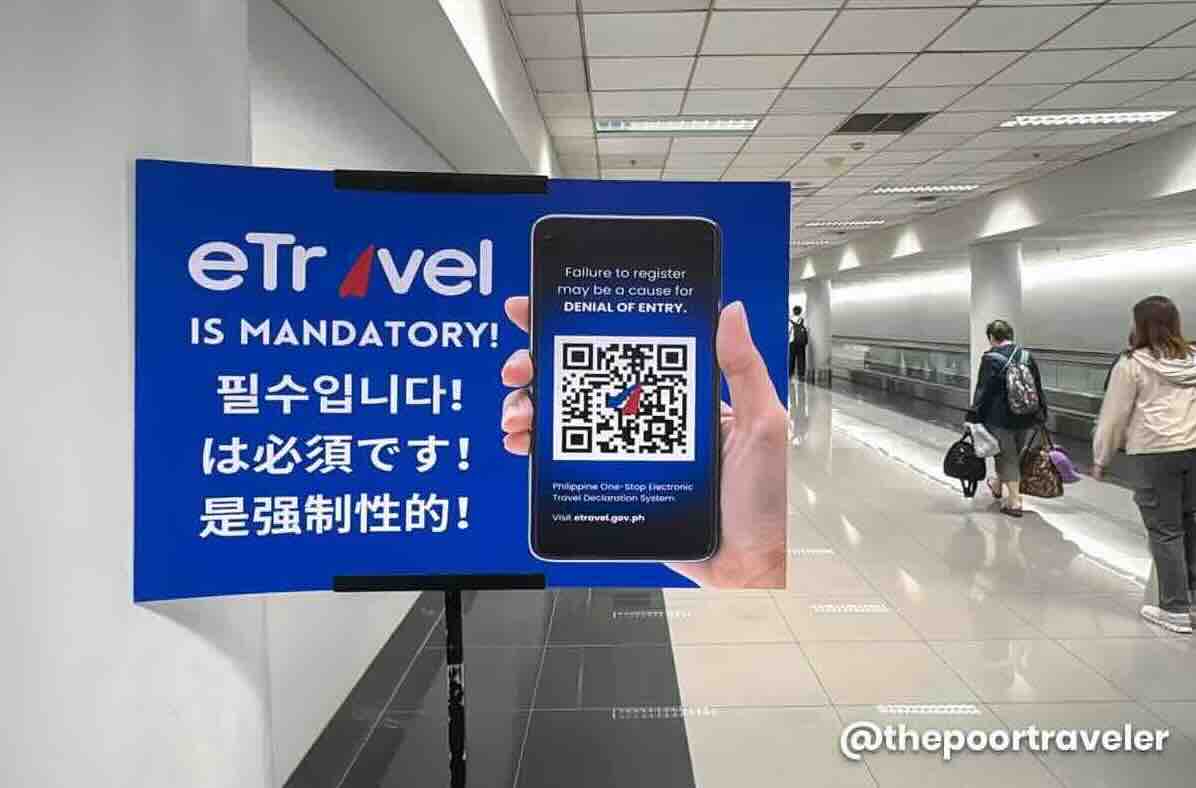
2. Accomplish the eTravel type.
What’s this manner? And why do you need to hassle? Effectively, eTravel is necessary for everybody touring to the Philippines. Whether or not you’re a returning Filipino or a overseas customer, you’re required to have this accomplished previous to your entry.
This type serves because the Immigration Arrival Card, Customs Declaration Kind, and Well being Declaration Kind. You’ll be able to fill this out on-line. Both go to the official web site (etravel.gov.ph) or obtain the eGovPH app: Android, iOS (Apple).
You want an e-mail tackle to get this accomplished.
- For those who do it on an online browser, simply click on on SIGN IN, then click on CREATE AN ACCOUNT, and enter your e-mail tackle.
- The shape will ask on your private and journey particulars, together with your flight quantity, the dates of your keep, the place you may be staying (could be a resort tackle or a neighborhood contact’s tackle), and what the aim of your journey is.
- For those who’re a Filipino or a Philippine passport holder, beneath Function of Journey, select RETURNING RESIDENT.
- It would additionally ask you to checklist down all of the international locations you have got visited previously 30 days, and whether or not you’ve been sick not too long ago. It would additionally ask you to declare restricted gadgets you’re bringing in, you probably have any.
- As soon as it’s accomplished and submitted, it’s going to generate a QR code. You’ll be able to obtain it or take a screenshot of it. You’ll additionally obtain this through e-mail. Airline check-in brokers could ask to see this QR code earlier than they test you in.
eTRAVEL is totally FREE OF CHARGE. If the web site or app you’re utilizing is charging you a charge, you’re getting scammed. It’s COMPLETELY FREE. No must pay for something.
That’s just about it! We’ve got a extra detailed step-by-step gude right here: HOW TO ACCOMPLISH eTRAVEL FORM!
UPON ARRIVAL
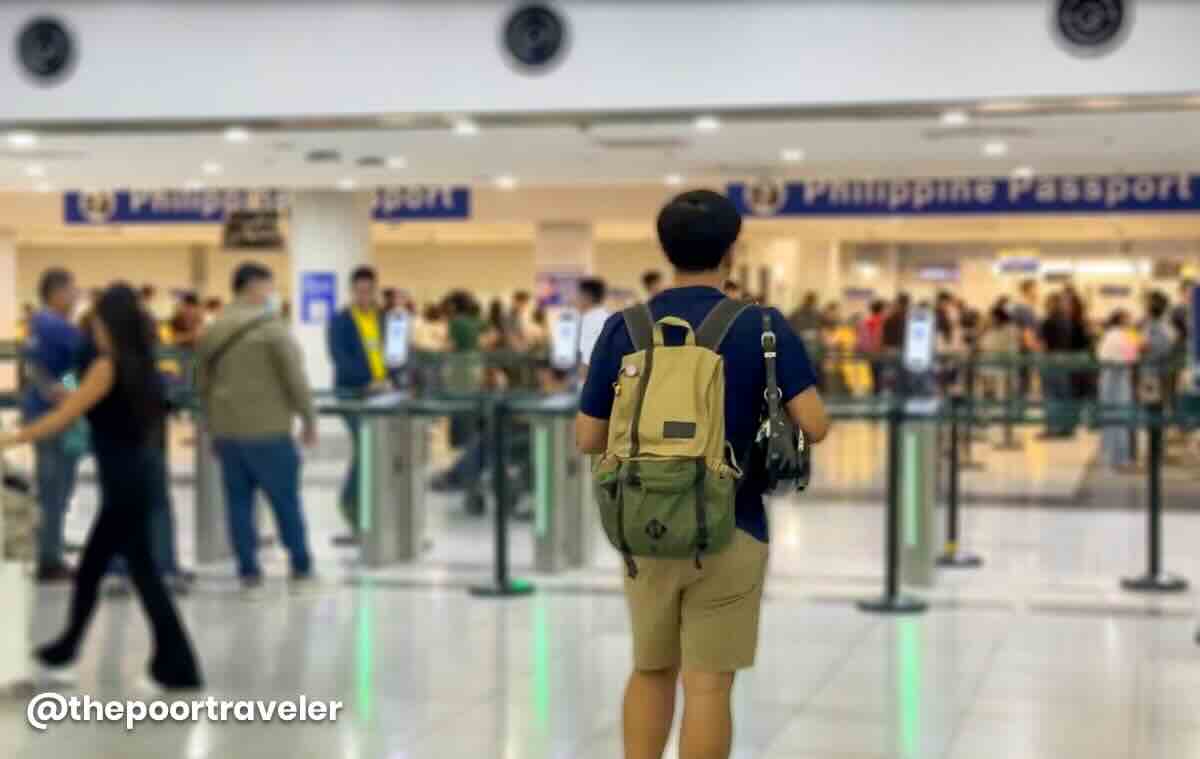
Step 1: Make your strategy to the Immigration counters.
Simply observe the ARRIVAL indicators. Alongside the best way, you’ll move by a temperature test. Lastly on the Immigration space, you’ll discover two fundamental sorts of Immigration gates:
- For those who’re a overseas nationwide, fall in line on the guide counters.
- For those who’re a Philippine passport holder, you should utilize the digital gates. It’s normally a lot sooner as there are extra e-gates than guide counters. Simply queue up and wait on your flip. Don’t strategy the gate till the passenger earlier than you is totally via.
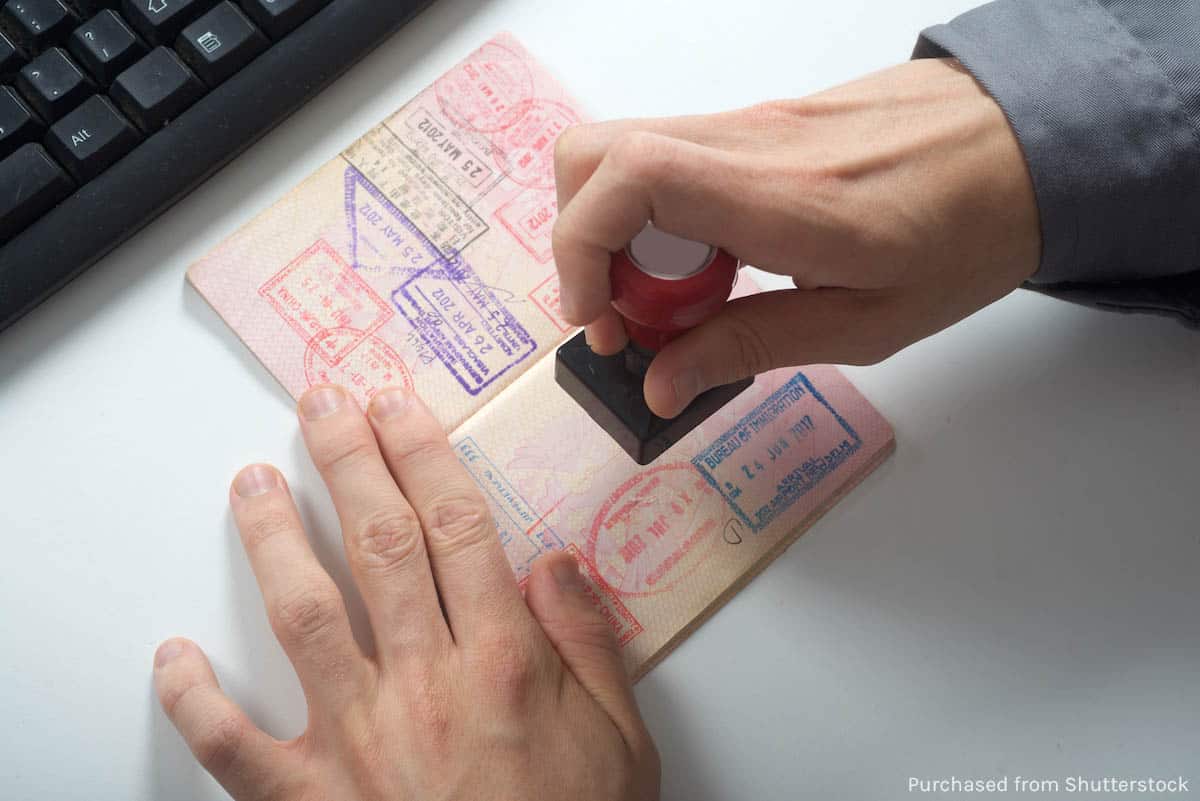
Step 2: Undergo Immigration test.
Final December 2025, they launched model new, extra superior e-Gates. These new ones are already operational at Terminal 1 and Terminal 3. I’m unsure if Terminal 2 can also be utilizing the identical models.
NOTE: Whenever you use the e-gates, you’ll not get a stamp or a sticker. As a substitute, you’ll obtain an e-mail affirmation in your inbox via the e-mail tackle you offered once you accomplished the eTravel type.
As soon as cleared, proceed to the Baggage Declare Space.
Step 3: Declare your luggage on the carousel.
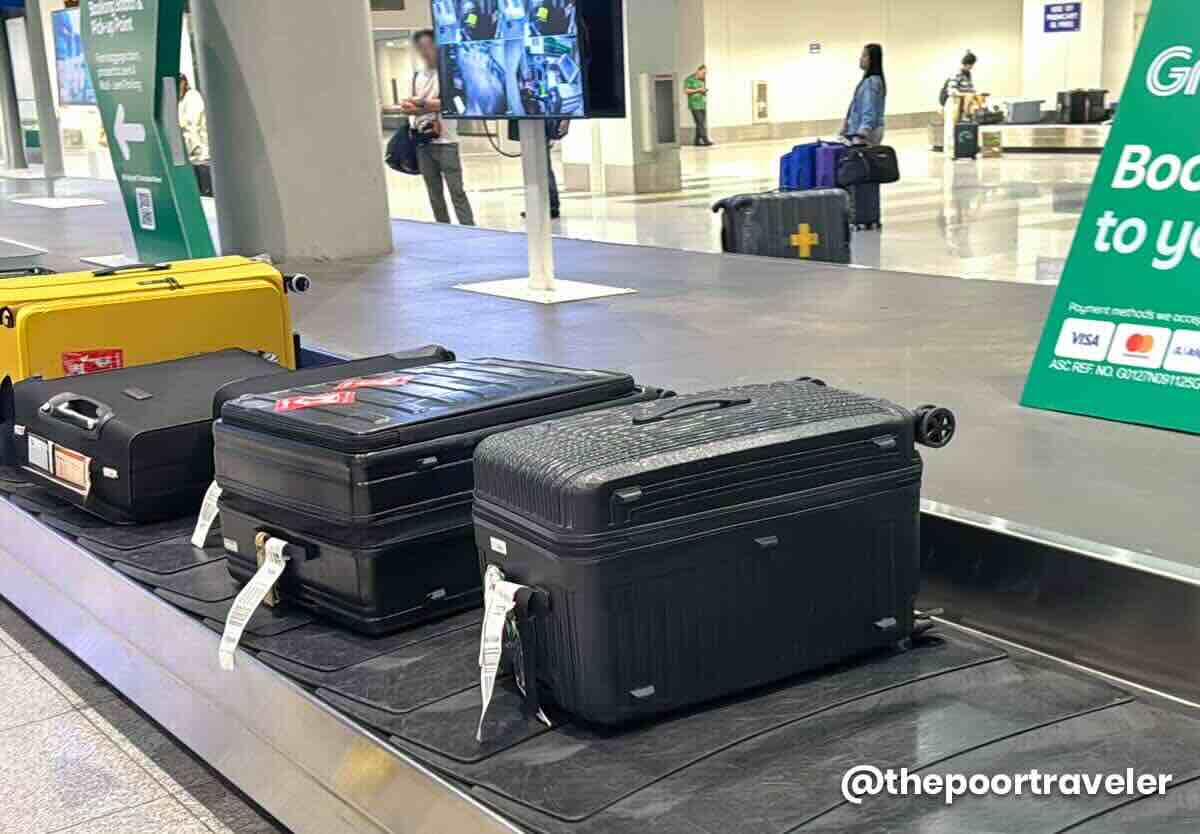
- Test the display screen for the carousel assigned to your flight. Truly, it’s additionally introduced onboard earlier than you deplane. For those who missed it, don’t fear, you’ll be able to simply test the screens.
- Be sure to have the right bag or suitcase. Most luggage look alike, and mix-ups occur extra typically than you suppose. So at all times test the tags on the bag earlier than leaving.
Step 4: Endure Customs test. Or NOT.
There are normally two lanes on the exit: RED LANE for these with gadgets to declare, and GREEN LANE for these with out.
- For many GREEN LANE vacationers, you’ll be able to simply stroll via. I say most as a result of random or “affordable” checks should be accomplished.
- For these within the RED LANE, your QR code could also be scanned once more.
As soon as via, you’ll emerge into the Arrival Corridor.
IMPORTANT! NAIA or Manila Airport has 4 terminals. It’s vital to know which terminal your flight will likely be utilizing as a result of they’re far aside. I’ll forgo telling you what terminal serves what airways as a result of terminal assignments change typically. So simply have a look at your flight reserving. Or ask the airline if you wish to double-check. You may also test NAIA’s official Fb Web page.
Step 5: Safe your transportation out of the airport.
There’s no subway or practice service that connects the airport to town heart. We solely have a number of methods to get out of the airport.
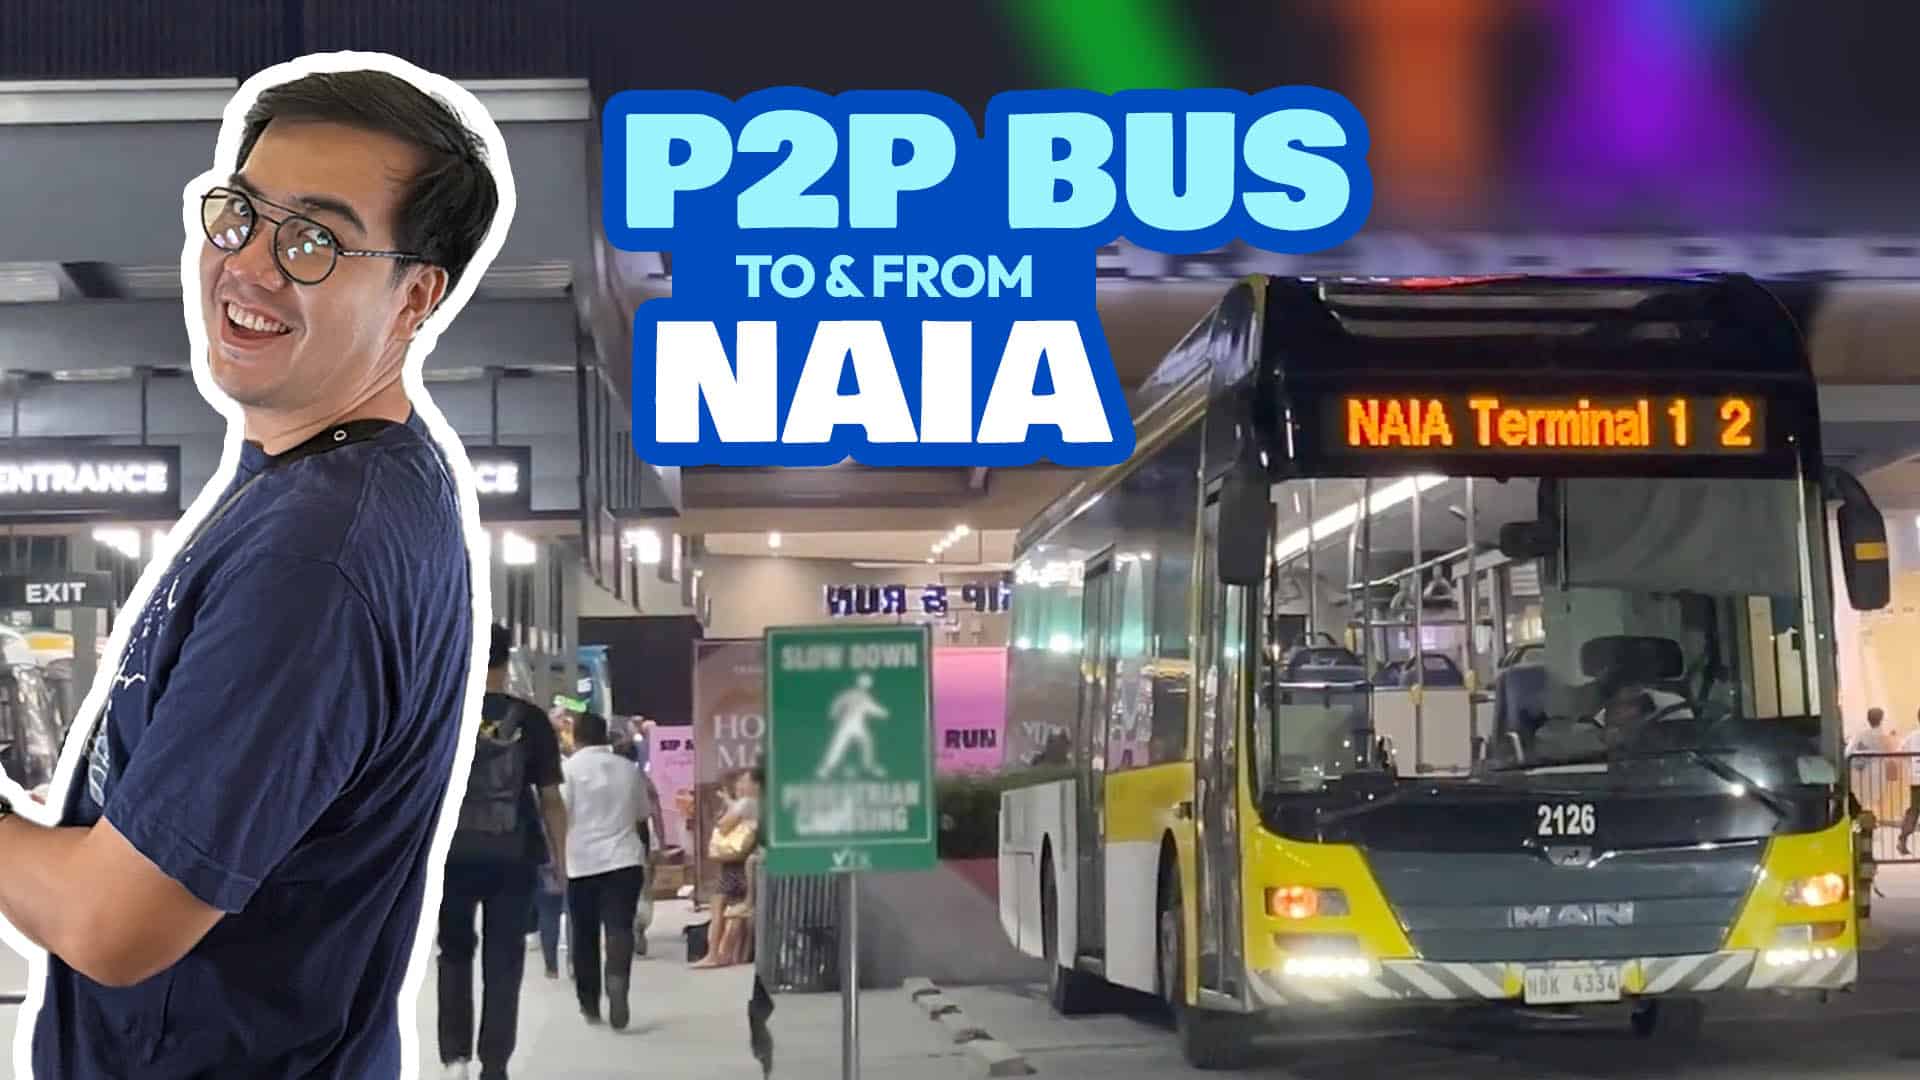
By UBE Specific Bus
You’ll be able to simply hop on an UBE Specific, a point-to-point airport bus in case your resort or vacation spot is near any of those terminals:
- PITX (Paranaque Built-in Terminal Alternate)
- Victory Liner Pasay
- Robinsons Place Manila
- Araneta Metropolis
- The District
- Robinsons Santa Rosa
UBE Specific picks up passengers at NAIA Terminal 3, throughout Bay 12 of the Arrival space.
We’ve got a extra detailed article about UBE Specific, together with fares, schedules, and different ideas. You’ll be able to test it right here: UBE EXPRESS AIRPORT BUS GUIDE
For those who’re touchdown at Terminal 1, 2 or 4, you’ll must switch to Terminal 3 first, which prices P50. UBE Specific has a NAIA loop that runs in a single course. It goes from Terminal 1 to Terminal 2 to Terminal 4 then lastly to Terminal 3. You’ll be able to’t use this bus to go from Terminal 2 to 1. You’ll have to seek out one other manner.
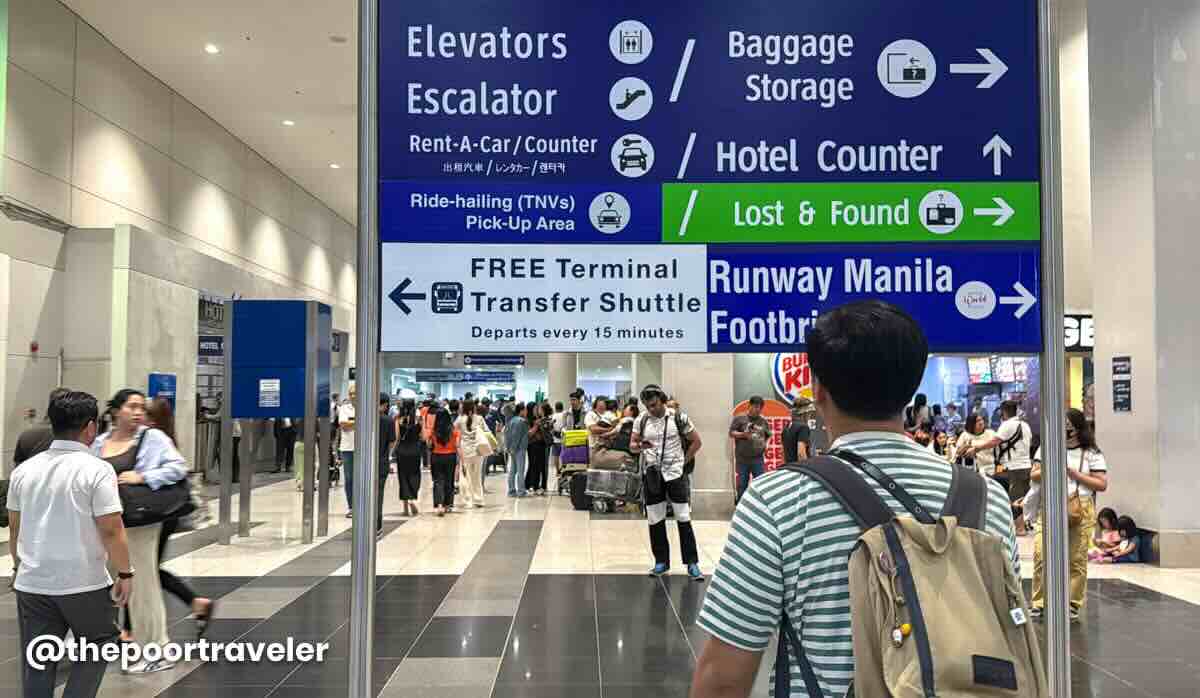
NOTE: The UBE Specific is completely different from the NAIA Inter-Terminal Shuttle Service, which is freed from cost. It’s open solely to passengers with a connecting flight. To make use of this, you’ll want to point out proof that you’ve a connecting flight to catch. I’ll talk about this later after we discuss connecting flights.
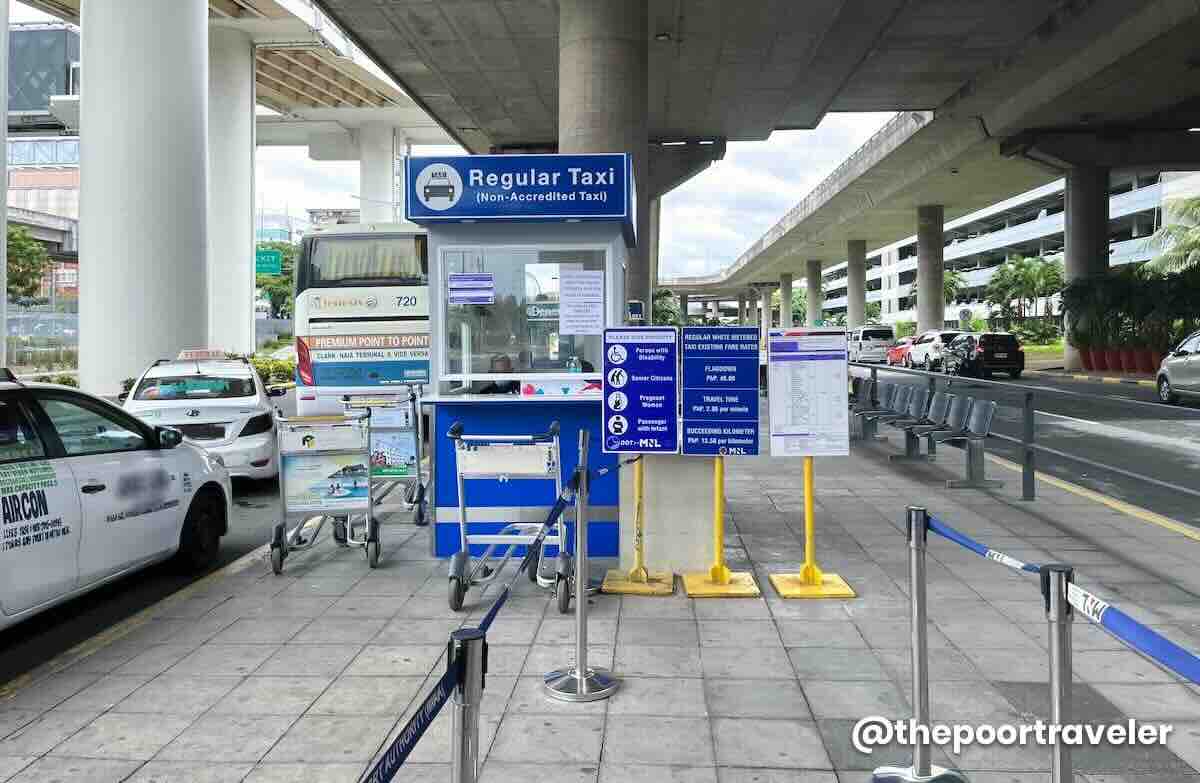
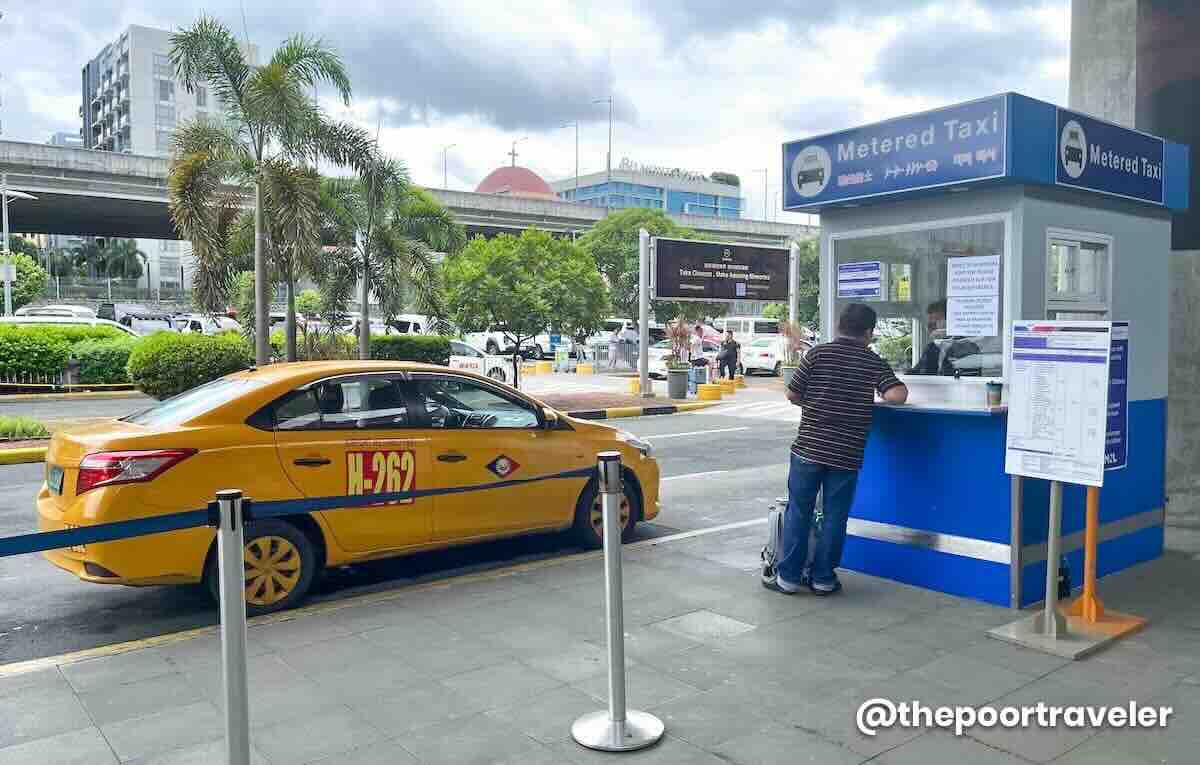
By Taxi
Taxis can be found in any respect terminals, however I don’t actually suggest this. I haven’t tried common cabs or airport cabs in a very long time as a result of I simply get bored with being overcharged.
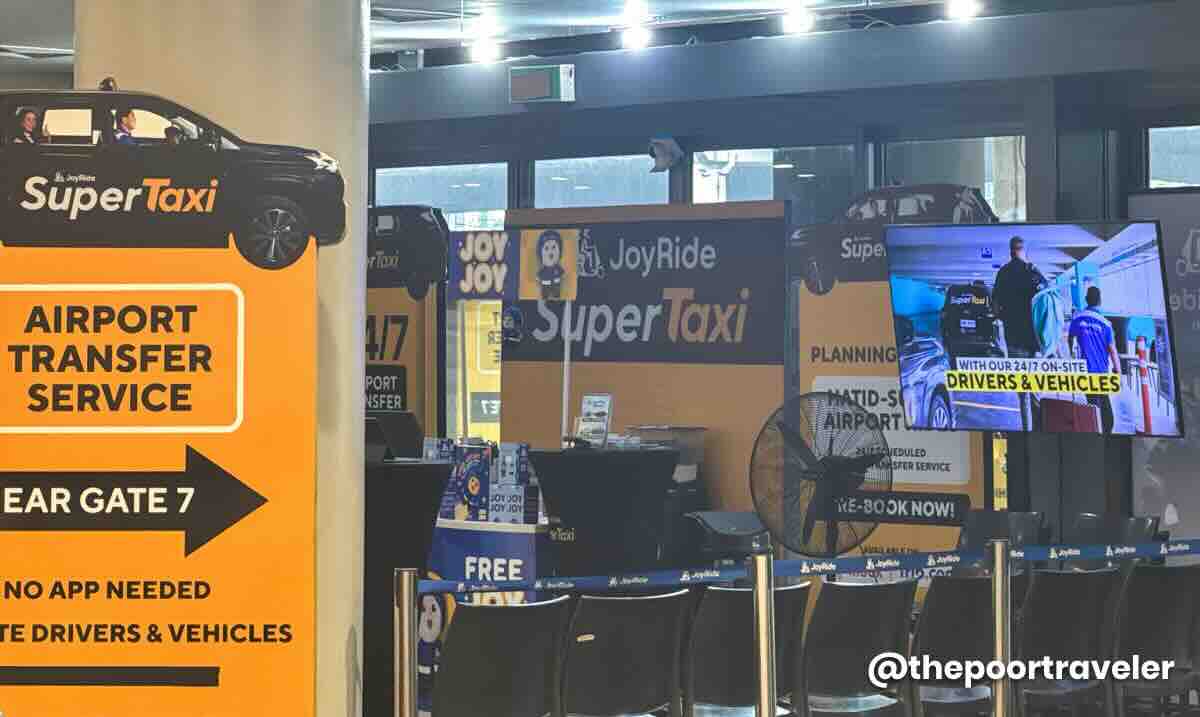
There’s a new cab service known as JoyRide Tremendous Taxi, which you’ll be able to ebook on website, however I haven’t tried it both.
What I normally take is Seize.
By Seize
Seize is Southeast Asia’s model of Uber. Simply obtain the app, register for an account, and begin utilizing it. You’ll be able to pay by card or money.
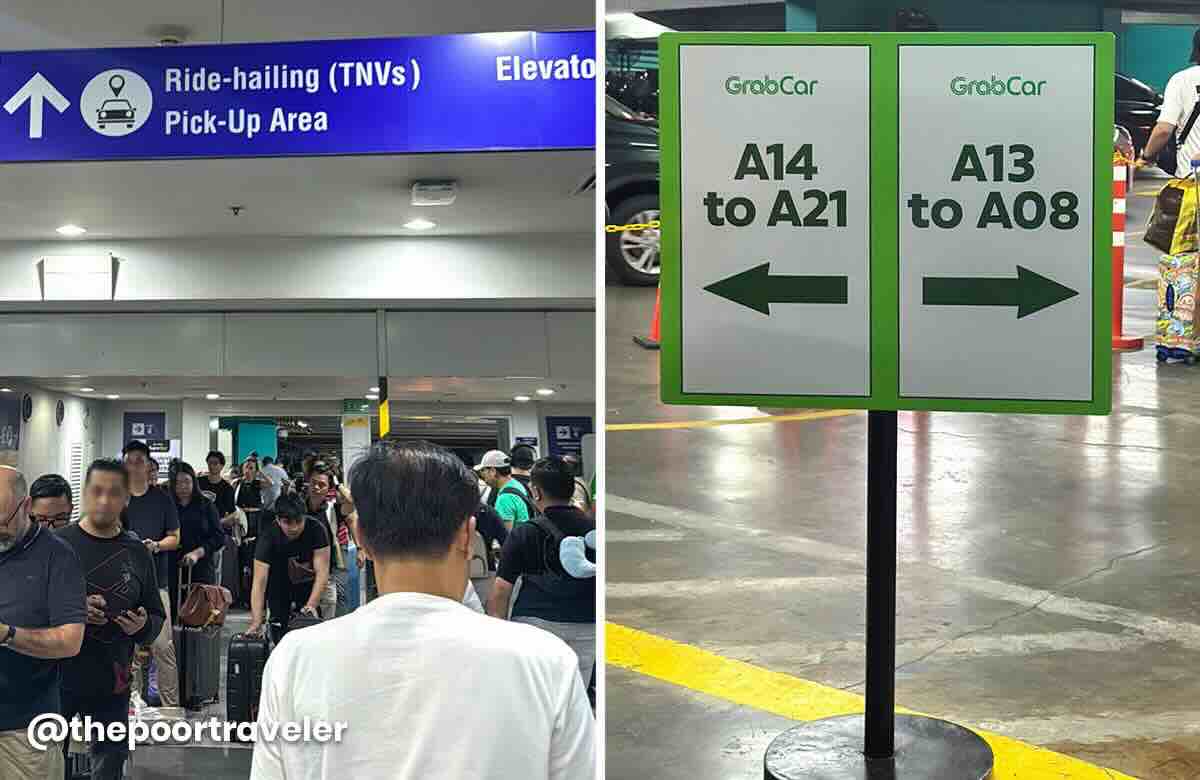
On the Arrival Corridor, simply observe the indicators to the Journey-Hailing Pickup level outdoors, and wait on your trip. That’s it!
However what if Manila isn’t your closing vacation spot? What if you need to catch one other flight?
CONNECTING FLIGHTS
To begin with, in case you haven’t booked your flights but and you propose to attach at NAIA, be sure to have loads of layover time. Give your self a whole lot of time allowance as a result of delays are frequent, and the terminals aren’t shut to one another. That is very true if each your flights are on separate bookings or itineraries or with completely different PNR (Passenger Identify File).
If each flights are in a SINGLE reserving
Or with just one PNR or reserving code (instance: each legs are booked with the identical airline or two airways with a code-sharing settlement), and your luggage are checked via to the ultimate vacation spot (which means, you have been advised by the workers that you may be choosing up your baggage at your closing vacation spot), do that as an alternative:
- Comply with the “Transfers” indicators as an alternative of Arrivals. Typically, in case your subsequent flight is already boarding, you’ll see airline workers ready for you, and they’ll information you thru.
- For those who weren’t given the boarding move on your subsequent flight on the airport of origin, you may get it from the switch desk. In any other case, proceed to the safety test, then proceed to your assigned gate.
If each flights are in SEPARATE bookings
- Comply with the steps 1-4 that I shared with you within the earlier part. Mainly, undergo Immigration and decide up your luggage.
- Then, in case your subsequent flight is on the identical terminal, go as much as the Departures stage, test in your luggage, and clear safety checks once more.
In case your subsequent flight is worldwide, you’ll must undergo Immigration test, too. Then wait on your subsequent flight on the assigned boarding gate.
Once more, that’s assuming you don’t must switch to a different terminal. However in case you do…
If that you must switch to a different NAIA terminal
There could also be free transfers between terminals on the airside so that you received’t must clear Immigration and test in your luggage once more. I stated “MAY BE” as a result of I haven’t actually skilled connecting on the airside.
What I’m optimistic of is, there’s a FREE inter-terminal shuttle service on the landside, or after clearing Immigration, Customs, and whatnot. Once more, it’s freed from cost.
If transferring from Worldwide to Home Flight
- If each flights are booked individually with two completely different PNR or reserving code, you’ll need to observe the steps 1-4 within the earlier part.
- Then, test in once more to your home flight.
IMPORTANT! Typically, even when it’s beneath the identical PNR, since not all home airports within the Philippines have customs, you could be required to nonetheless decide up your luggage and undergo customs at NAIA. Then drop the baggage on the switch desk and so they’ll transfer them to your subsequent home flight.
And there you have got it. Get pleasure from your flight and have a secure journey! In case you have questions, drop them within the feedback part under, and we’ll attempt to reply them (if we all know the reply). Be happy to share your arrival expertise at NAIA.
The place to Keep Close to NAIA (Manila Airport)
For those who’re in search of a resort or condominium near the airport, listed here are some high suggestions on varied on-line reserving web sites.
🔥🔥🔥 Use AGODATPT for 10% off on choose inns! 🔥🔥🔥
The Poor Traveler readers and followers can now use a particular low cost code to attain 10% low cost, as much as USD 100 (roughly PHP 5700)! To use and avail of the promo code, go to AGODATPT Promo Code.

Seek for extra Manila Accommodations!

Updates Log
2026 3 25 – First up
Edited by: Asta Alvarez