
Are you struggling to find out the greatest aperture for panorama pictures?
Choosing the right aperture might be powerful, particularly in a style like panorama pictures. In any case, you’re usually striving for full sharpness all through the scene – and attaining this requires greater than somewhat know-how.
That’s why, on this article, I lay all of it out for you:
- The very best aperture to maximise depth of subject
- The aperture you don’t need to transcend
- Once you may need to think about using a wide-open aperture
- A lot, far more!
Let’s dive proper in.
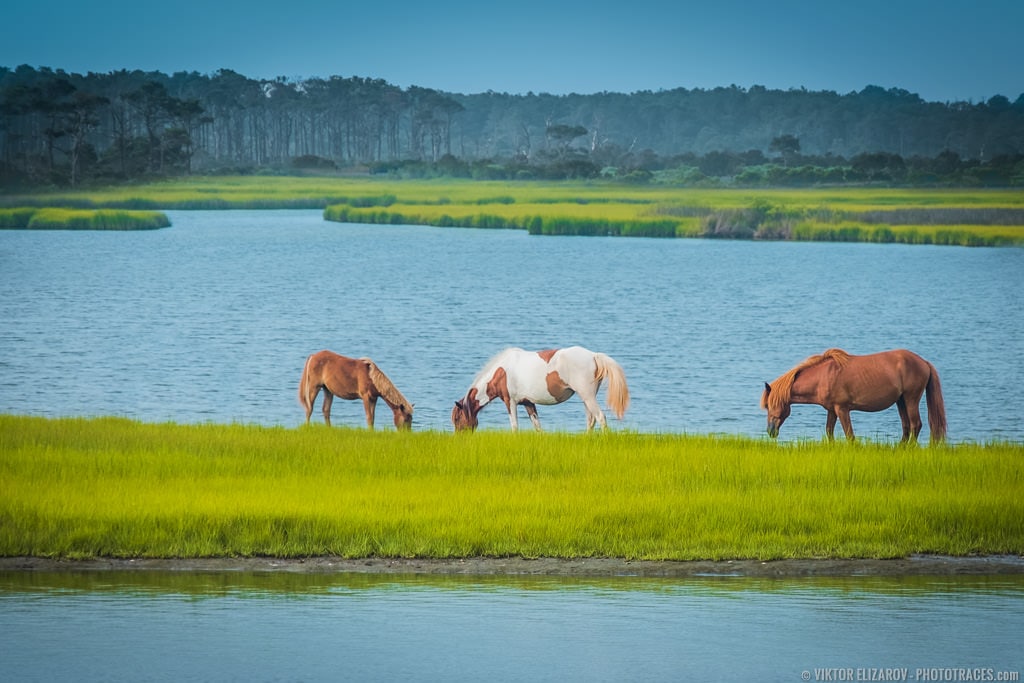
The Greatest Aperture for Panorama Images
In panorama pictures, the commonest aperture is from f/8 to f/13. This allows you to maximize the depth of subject whereas on the similar time attaining the sharpest-possible pictures. Nonetheless, you’ll often need to use an aperture outdoors this “splendid” aperture vary; I clarify additional within the article beneath.
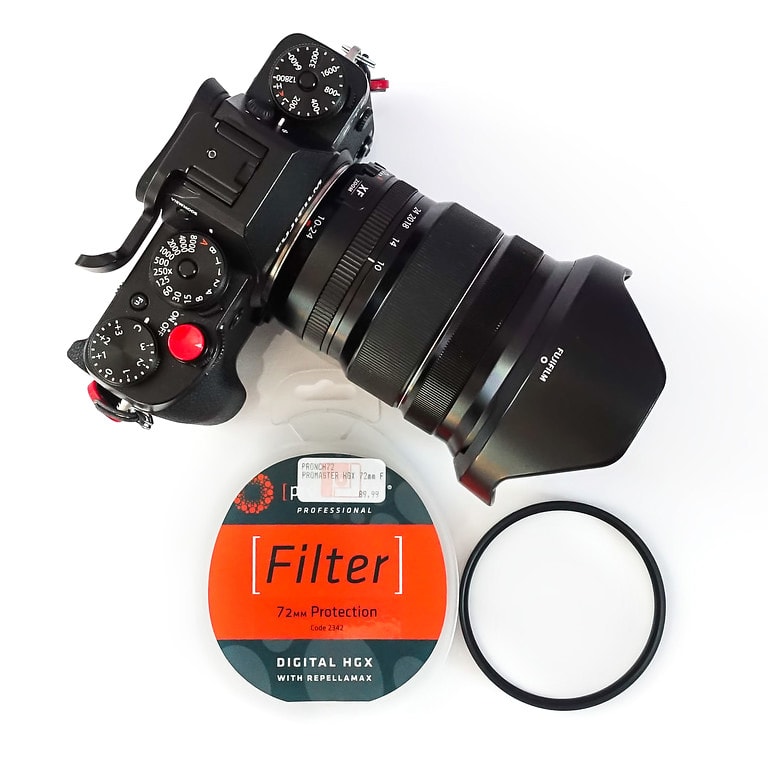
What Is the Candy Spot of Your Lens?
Each lens has a so-called “candy spot” – the aperture at which you get the sharpest pictures (assuming good digital camera settings and efficient digital camera approach). And that is the place most photographers begin when figuring out the very best aperture for panorama pictures – in any case, the objective in panorama pictures is to realize most sharpness.
Now, as a result of lenses all have totally different inner building, the candy spot varies from lens to lens.
That mentioned, lenses are typically softest on the extremes of the aperture vary (typically f/2.8-f/4 and f/16-f/32) and sharpest towards the center (round f/8).
Why?
It has to do with a mix of physics and lens building. I clarify features of this in a while within the article – see the dialogue on diffraction.
Actually, I’d simply advocate you take a look at every of your lenses. Discover a topic, mount your digital camera setup on a tripod, then seize a sequence of pictures taken at totally different apertures. Once you view the recordsdata on a pc, zoom in to one hundred pc – and establish the place sharpness is greatest, the place it’s worst, and the place it’s acceptable to you as a photographer.
In the end, to establish the candy spot of your lens, merely Google the question “Lens Mannequin + Candy Spot,” and you can find the “candy spot” of your lens with ease.
Maximizing Depth of Discipline With Hyperfocal Distance
When figuring out the very best panorama pictures aperture, you’ll additionally need to take different elements into consideration.
Particularly, you need to take into account the hyperfocal distance of your scene.
Whereas we’ve coated hyperfocal distance in one other article (Hyperfocal Distance in Images), listed below are the fundamentals:
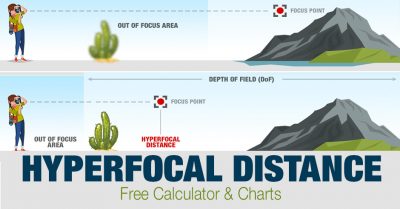
The hyperfocal distance is the main target level at which you get the utmost depth of subject in your scene, and it depends upon each your aperture and your lens’s focal size.
For the reason that objective is mostly to get all the scene sharp, you’ll want to consider the closest foreground ingredient, you then’ll must widen your aperture till you’ll be able to preserve each the closest foreground ingredient and essentially the most distant background ingredient sharp – whereas setting your focus to the hyperfocal distance.
In sensible phrases:
You’ll want a comparatively slim aperture, particularly when you have a scene with a number of depth.

Slender Aperture and Diffraction
After studying the earlier part, you’re in all probability questioning:
Why can’t you simply slim your aperture all the way in which to f/16 or f/22? In any case, wouldn’t that maximize depth of subject?
And also you’re proper:
An aperture of f/16 has a larger depth of subject than an aperture of f/8, and an aperture of f/22 has a nonetheless larger depth of subject than an aperture of f/16. So by selecting the narrowest aperture, you’ll get the most important depth of subject.
However in panorama pictures, it’s not often advisable to shoot at an aperture past f/16, for one main cause:
Diffraction.
Diffraction is an optical phenomenon that degrades picture high quality. When mild travels by a slim aperture, it turns into distorted – and the narrower the aperture, the extra the distortion will seem in your pictures.
At extensive apertures – corresponding to f/4, f/5.6, and even f/8 – you typically can’t see the results of diffraction, even in the event you zoom in to one hundred pc.
However as you get to f/16, f/18, and f/22, diffraction will develop into noticeable.
It’s the explanation a lens’s candy spot is principally at all times beneath f/13 or so – as a result of whereas stopping down improves picture high quality, at narrower apertures, diffraction begins to work in opposition to you.
Right here’s the important thing takeaway:
The very best aperture for panorama pictures is beneath f/16 or so. You need to keep away from vital diffraction, regardless that a slim aperture will enhance depth of subject.
Make sense?
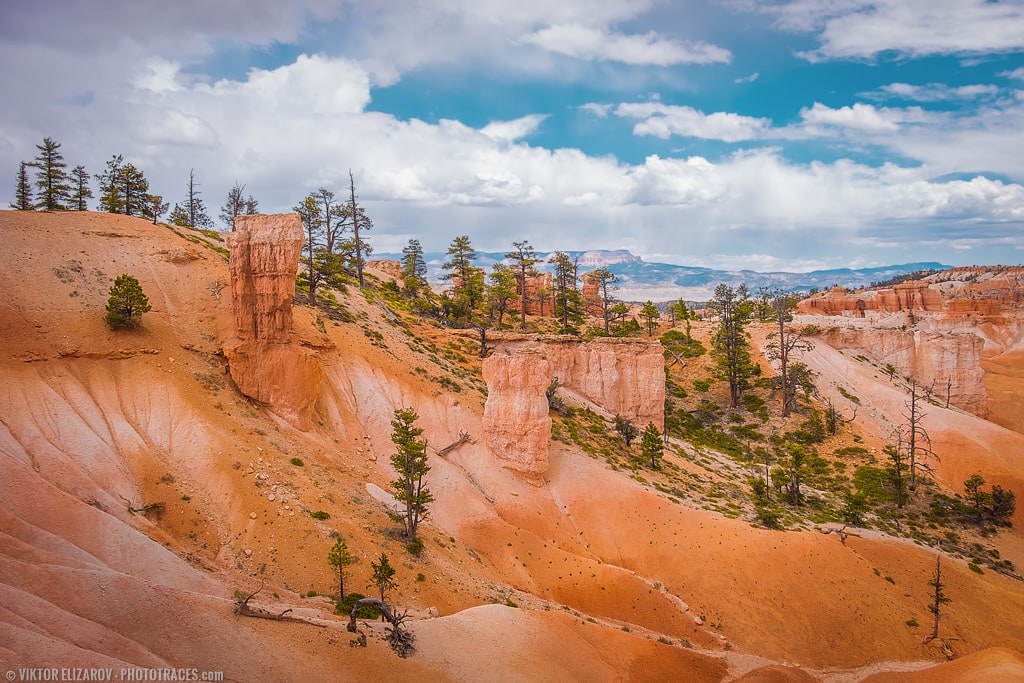
Extremely-Slender Apertures and the Sunburst Impact
Should you’ve been following up till this level, you understand that the very best aperture maximizes depth of subject whereas additionally avoiding diffraction.
However right here’s one other issue to throw into the combo:
The sunburst impact.
You see, as you slim your aperture whereas capturing into the solar, you’ll begin to see a really cool sunburst, like this:
And the narrower your aperture, the crisper the sunburst.
So in the event you’re after an particularly stunning impact, it’s possible you’ll need to sacrifice sharpness and cease down previous your lens’s candy spot.

(If you wish to keep sharpness, you’ll be able to at all times take one shot at f/16 or f/18 for the very best sunburst, a second shot at f/8 or f/11 for a pointy scene, then mix the 2 pictures collectively in post-processing.)
When to Use Broad Apertures
Panorama pictures not often entails wide-open apertures of f/4, f/2.8, or wider.
In any case, the broader the aperture, the smaller the depth of subject.
Nonetheless…
There are occasions when a wide-open aperture does make sense. Astrophotographers, particularly, use f/2.8 apertures to maintain a low ISO and quick shutter velocity.
(When capturing the night time sky, you usually need an ISO beneath 3200 to forestall extreme noise, and a shutter velocity above 25s to forestall blur within the stars.)
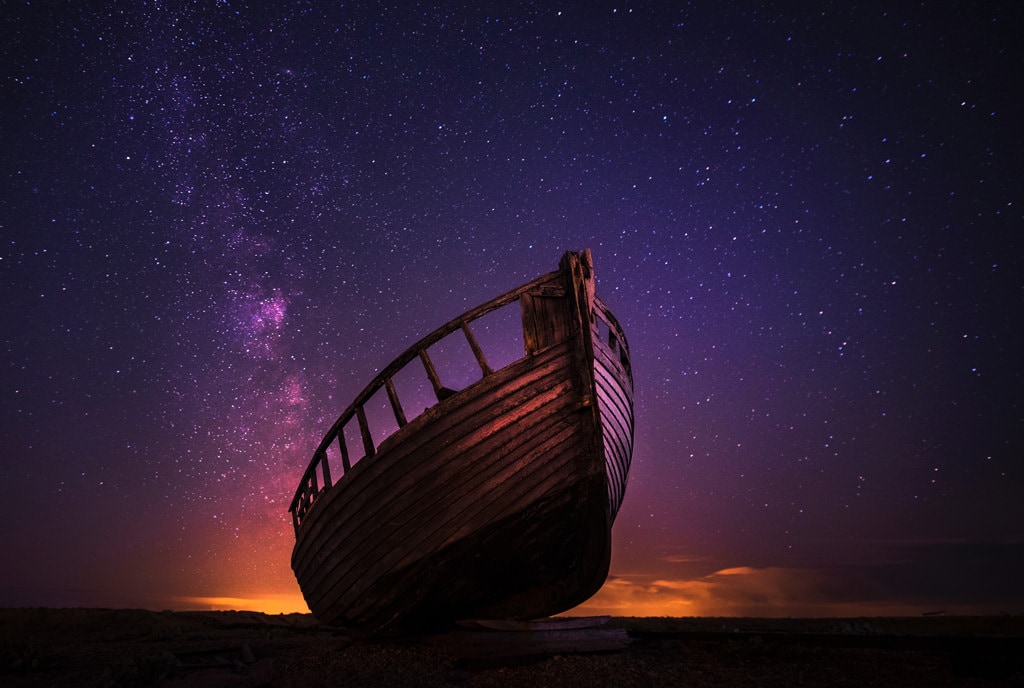
So in the event you’re capturing at night time, it’s possible you’ll need to take into account preserving your aperture extensive, no matter your lens’s candy spot. Word that you could be must tweak your composition to maintain all the scene sharp – as an illustration, you’ll need to keep away from shut foreground components until you’re ready to do some focus stacking.
Greatest F-Cease for Panorama Images: Conclusion
Figuring out the very best aperture for panorama pictures doesn’t need to be exhausting – however as you now know, it does contain a number of competing elements.
Keep in mind:
Your objective is to strike a stability between the aperture that gives most depth of subject and the aperture that gives most sharpness. Usually, this places the right aperture within the f/8 to f/13 vary.
(Although in the event you’re doing astrophotography, you’ll need to ignore this recommendation and preserve your aperture as extensive as doable!)
So the following time you’re out capturing, be sure you consider carefully about depth of subject, and be sure you know your lens’s candy spot. That means, you will get constantly stellar outcomes!